In “Your First Processing Code,” I wrote a code to display an image by specifying a URL using the function “loadImage.
In fact, loadImage can display not only URLs but also images on the PC.
Let’s give it a try.
Create a new sketch
In the previous article, we named the sketch “DisplayTesh01” to display an image of a handsome man on the Internet and saved that sketch. Today we’re creating another new sketch “DisplayTesh02”.
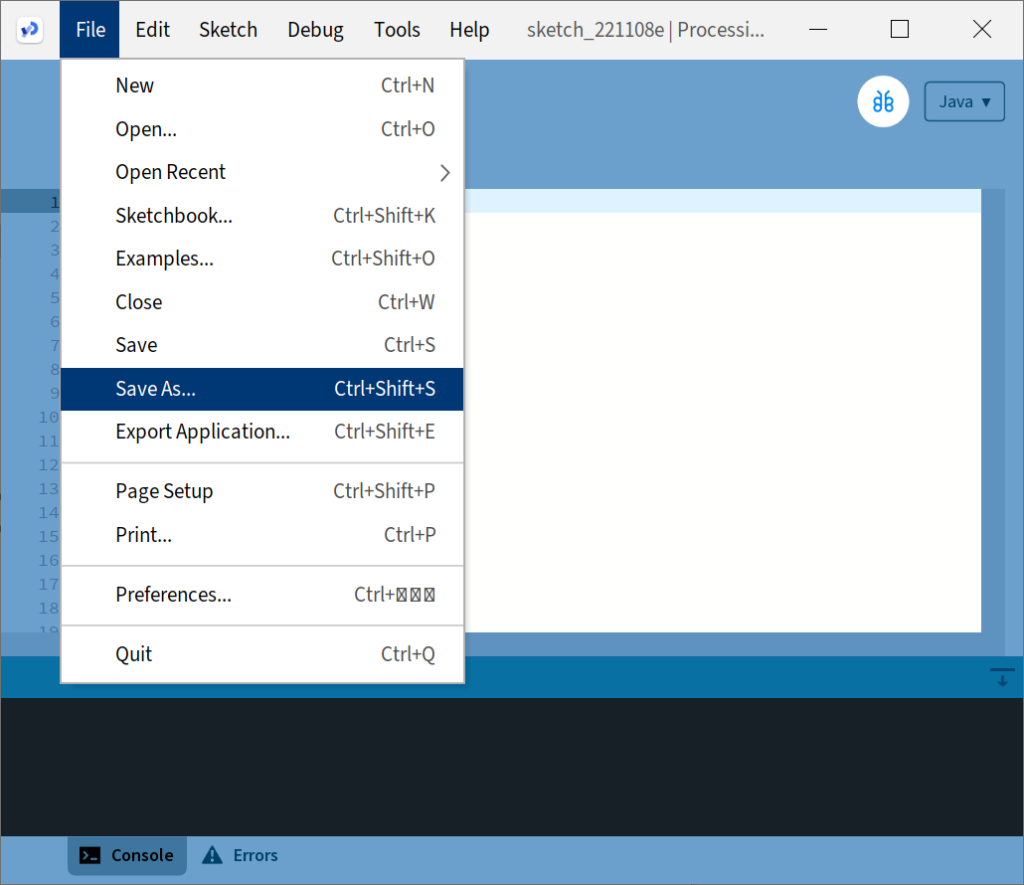
Click “File–>New” to open a new sketch window.
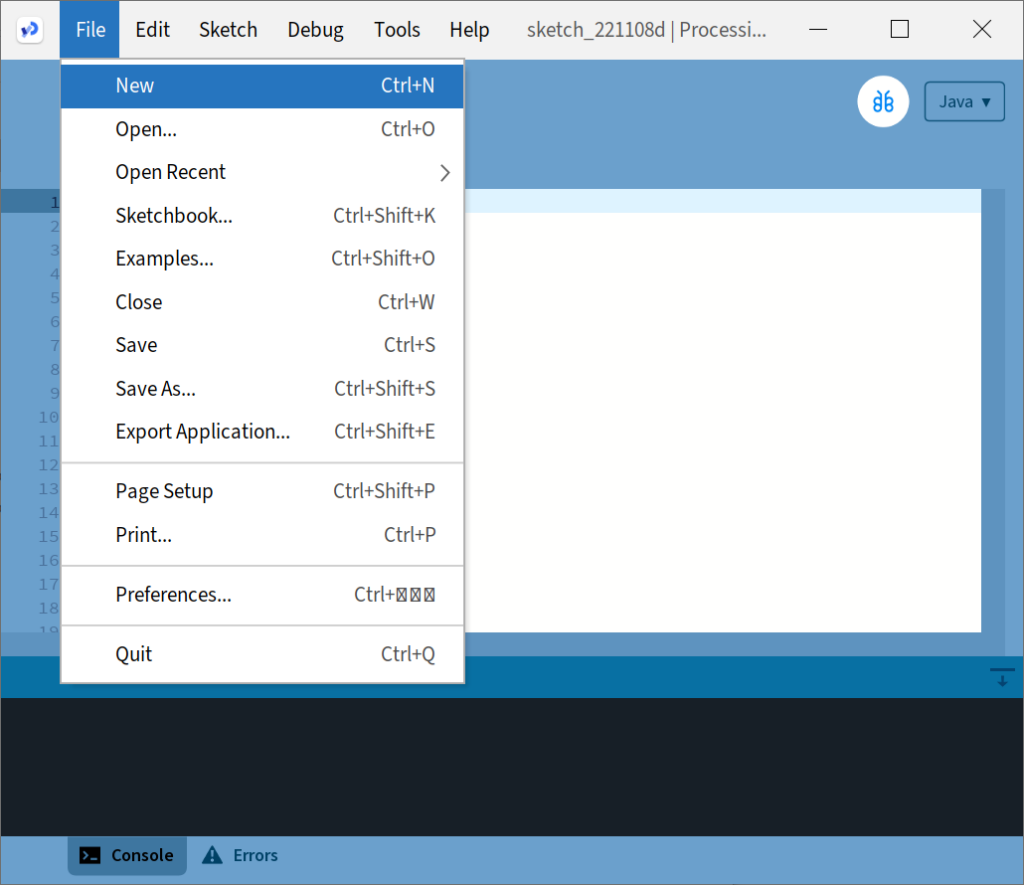
This sketch has a temporary name that is a combination of the date and alphabet, so now click “Sketch–>Save as…” and name it “DisplayTesh02 and name it “DisplayTesh02”.
Add an image file
Add the file you are going to display to the sketch.
Open “Sketch–>Add File” and select the file you want to add.
(If you want to try it with the same file, you can download it here)

After you have added the file, check it out.
Sketch–>Open Sketch Folder” will open the Sketch folder in Windows Explorer or Finder on the Mac.
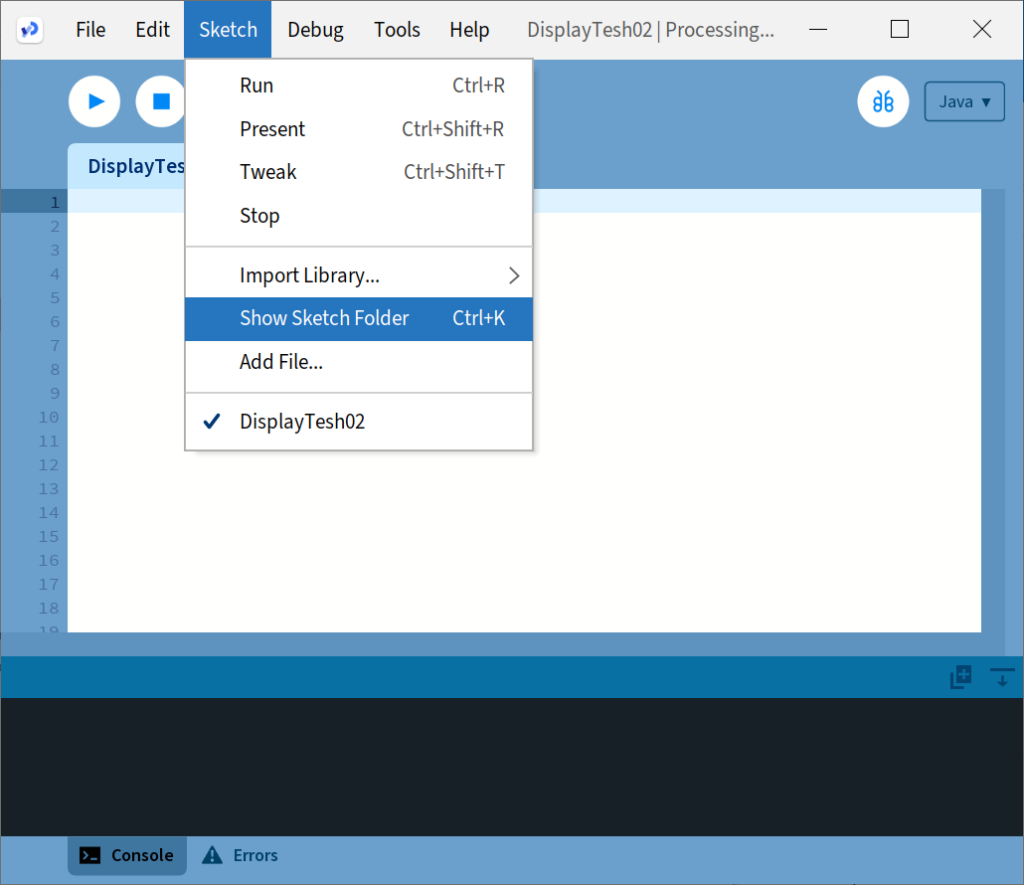

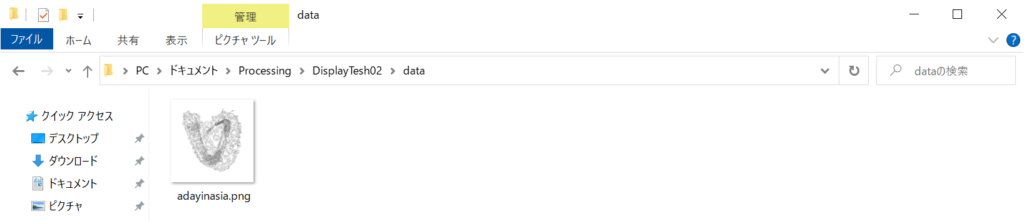
When you open the sketch folder, you will see a subfolder called “data. Open this “data” folder and you will find the image you just added in it.
Display the image you just added
The code to display the image we just added is shown below.
PImage image; // declare variable image

void setup() {
  size(640, 640); // set window size to 640x640
  // load image from file
  image = loadImage("data/adayinasia.png");
}

void draw() {
  image(image, 0, 0); // display "image"
}
The only difference from the previous DisplayTesh01 is lines 4 and 6.
The image we just added is 640×640 in size, so we changed line 4 to make it so.
The sixth line is to load the image. In the previous example, the URL was specified, but this time the argument is “data/filename” instead of URL. This is a “relative path,” meaning that the location is specified relative to the sketch folder. The image files added under the “data” subfolder of the sketch folder are specified as “data/image”. Here, “/” (slash) denotes a subfolder, and while Windows uses “\”(back slash), Processing uses a slash.
When this sketch is executed, a window opens and the added image is displayed.
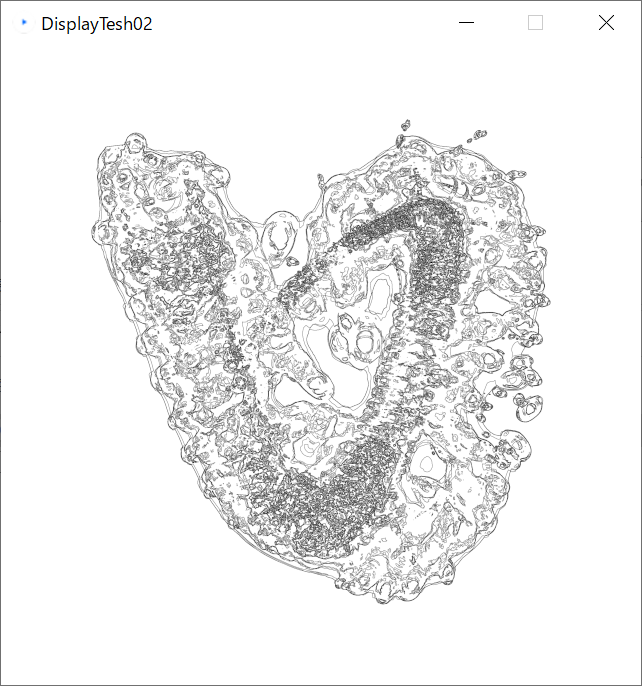
If you want to display an image anywhere on your PC, use an “absolute path” instead of a path relative to the sketch folder. Absolute paths are represented as “DriveName:/FolderName/…” in Windows. Again, use a slash instead of a “\”(back slash). For example, the file tesh.png in the folder “Temp” directly under the C drive is represented as “C:/Temp/tesh.png” in absolute path in Processing.
For your information, a user’s home folder is “C:/user/(user name)” in Windows, “/Users/(user name)” in Mac, and “/home/ (user name)” on Linux.
Saving the image
Now that we have read the image from the file, let’s save the image to a file. Add the following to line 11 of the previous code.
save(data/copied.jpg""); // save the imageThe function to save the image is “save”. The argument is the path to save the image.
When this sketch is executed, a new image file is created in the data folder.
In this example, the image is loaded with a “png” extension and saved with a “jpg” extension. Here the PNG file is converted to a Jpeg file and saved according to this extension.
Now we have a problem here…
The save function can now be used to save the image. But here’s a small point of concern: remember that the setup function is called only once at the beginning of the program execution, but the draw function is called repeatedly after that.
It is useless to keep saving the same image over and over again each time the draw function is called, and if the program is stopped while saving the file, it may be interrupted while writing to the file, and the file will be corrupted.
So it is not a good idea to save a file in the draw function.
So what should we do?
Function called only once at the end of the program
The opposite of the setup function, which is called only once at program startup, a function that is called only once at program end would be ideal, since it would save the image only once at program end.
Processing has a function called dispose that is called only once at program end. We can save the image in this dispose function.
Delete the previous line 11 and add the following three lines at the bottom of this code.
void dispose() {
    save(data/copied.jpg""); // save the image
}
Summary
In this article, we have learned how to read an image file on a PC and how to write an image to a file. We have also learned that the file is converted automatically depending on the file extension.