First, the basics (displaying pictures)
In many introductory books and websites for beginners to Processing, they often start from drawing simple lines or circles with Processing code, but in this website, we will start with displaying a picture out of the blue.
The reason is that it is more interesting than simply drawing lines and circles.
One of the tricks to improve your programming skills is to have fun while doing it.
It is not very fun to write “Hello, World!” on the screen.
One of the keys to improving your programming skill is to have fun while doing it.
It would not be very interesting to write “Hello, World!” on the screen.
Still, drawing lines and circles is a necessary part of the basics, so I’ll get to that later. Anyway, for the time being, I will familiarize myself with Processing by trying to display images and playing around with them.
If you have not yet installed Processing, please refer to the following for installation.
Installing Processing (Windows 10 version)
Installing Processing (Mac version)
Installing Processing (Linux version)
Now it’s time to start coding for the first time!
Now, let’s start up the installed Processing.
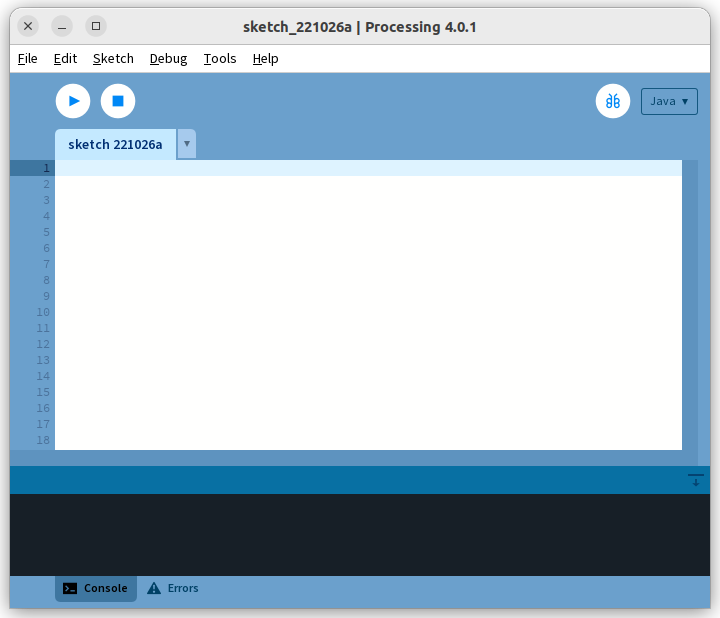
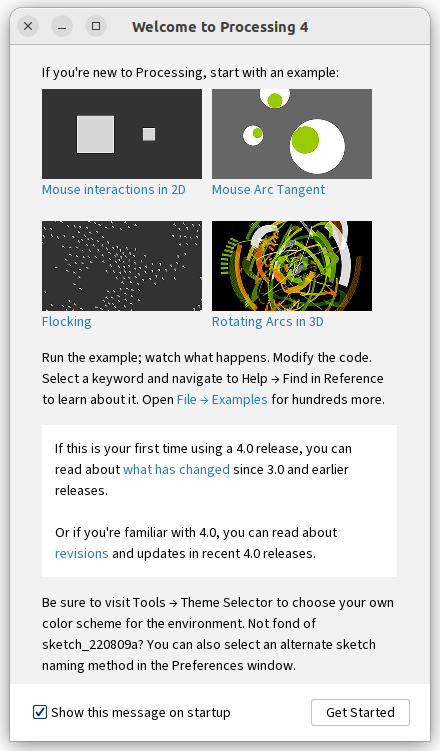
As mentioned in the installation article above, when you start Processing, a welcome window and a blank editor screen will appear.


Let’s type the following into this editor screen.
PImage image; // declare variable image

void setup() {
  size(480, 640); // set window size to 480x640
    // Download the image specified by URL from the Internet and assign it to the "image" variable
image = loadImage("https://coding4.art/wp-content/uploads/2022/11/teshnakamura.jpg");
}

void draw() {
  image(image, 0, 0); // display "image"
}
In this code, the “//” is a “comment,” which is ignored by the program. In the case of Processing, everything after the “//” is ignored. In the case of Processing, everything after the “//” is ignored.
So, even if you don’t type those comments here, it will still work. (= If you don’t want to bother, you don’t have to type anything after // on that line.)
Also, the beginning of each line (on the left side) is assigned a line number, but this is just for ease of explanation and is not part of the code. In other words, there is no need to type them in. (It must not be typed in.)
Now, after typing the above, let’s run the code.
Click the “Run” button.

Then another window opens like this and a handsome man is displayed, it means success!
That’s it.
This is your first Processing program. Congratulations!
After confirming that the code works properly, save it. Click “File–>Save As” from the menu, a dialog box for entering a name will appear, and enter “DisplayTesh01” to save this code.
The code is not only saved here, but also a “project” that contains all the necessary information to run the program. In this case, the configuration is very simple, so there is only one code and a folder to save it.
Code Explanation
Now, let me explain this code.
Line 1
PImage image; // declare variable imageThis is preparing an object called “PImage”, which handles images, and naming it “image. The name “image” here is a variable. The name of variables generally can be determined by the programmer, although there are certain restrictions.
Anyway, here, you should just understand that “PImage” is named “image”.
There is a “;” (semicolon) at the end of the line. In Processing, a semicolon is placed at the end of a process is finished (although there are exceptions).
After the semicolon, there is a “//” (two slashes), but as I mentioned earlier, this double slash and after are ignored because they are comments.
Line 2: Empty line
Processing code allows empty lines in the code. Blank lines are ignored. This makes the code more readable, so try to include blank lines when necessary.
Blank lines are not processed, so they are not followed by a semicolon.
Lines 3 – 7
void setup() {
  size(480, 640); // set window size to 480x640
    // Download the image specified by URL from the Internet and assign it to the "image" variable
image = loadImage("https://coding4.art/wp-content/uploads/2022/11/teshnakamura.jpg");
}
Lines 3 through 7 declare the function “setup().
This line 3 does not have a semicolon, but instead has a “{” (open brace). The line 7 has a closing brace. In other words, the area between these two braces (called “block”) is the function “setup()”.
The word “function” has suddenly appeared, but please remember that a “function” is “a grouping of multiple processes”.
Generally, functions can be named freely by the programmer as well as variables, but this “setup()” function is a special function defined by Processing, so its name cannot be changed.
The “setup()” function is a special function defined by Processing, and its name cannot be changed. How special this setup function is that this setup function will be called only once at the beginning of execution of this code. So you can write processes to prepare for this program.
The fourth line says “size(480, 640),” which specifies the size of the window that will be opened when this code is executed (yes, the window that displays the handsome man). size(width, height), in pixels.
So, in this line, the size of the window to be opened is set to 480×640 pixels.
Actually, “size(x, y)” is also a function, and here we are “calling” a function. The called function “size” is implemented to determine the size of the window to be opened, but there is no need to be aware of the contents of that function. It is enough to remember that calling the function “size” will set the window size.
In general, a function is a “function-name (argument),” and some functions have multiple arguments, such as size, while others have no arguments, such as setup.
The fifth line has a double slash at the beginning of the line, so this line is entirely a comment, which in essence is the same as an empty line.
Line 6 assigns a value to the PImage variable named “image” that was declared earlier.
In Processing, “=” (equal) means “assign the right side to the left side variable.
Here, the result of executing the function “loadImage” on the right side is assigned to the variable “image” on the left side.
Then, what does the function “loadImage” do? This means that it reads (loads) an image from the URL written in its argument. In other words, it assigns the read image to the “image” variable.
Lines 9 – 11
void draw() {
  image(image, 0, 0); // display "image"
}
These three lines are in the function named “draw. This “draw” function is also a special function defined by Processing and cannot be named by the programmer.
This “draw” function is a function that is called repeatedly while the program is running. Here, only one line of processing is written in the “draw” function. The function “Image” is called in line 10. The first argument specifies the image, the second specifies the x-coordinate of the location where the image is to be displayed, and the third specifies the y-coordinate of the location where the image is to be displayed.
In other words, line 10 is the process of “displaying the image named “image” from the coordinates (0, 0)”.
Summary of Process
This program performs the following processes.
Doing only once when the program is started;
- Specify the window size
- Obtain the image indicated by the URL and assign it to image
Repeatedly during startup;
- Display the image assigned to “image” in the window
The window size specification and image acquisition need only be done once at the beginning, so they are placed in the setup function, while the image display is done in the draw function, since it will continue to be processed while this program is running.
Let’s try some more stuff.
Programming Progress Tip: Try things on your own.
In this code, the line “loadImage(…), you can see that it is retrieving an image from the Internet.Let’s try changing the contents of this line to display different images.
If the size doesn’t fit, you have to change other parts of the code, but what do you do?


