
Processing distributes the language itself and a development environment (SDK: Software Development Kit) for coding with it, all of which can be downloaded and used for free.
Installing Processing is very easy, so let’s give it a try.
Download Processing
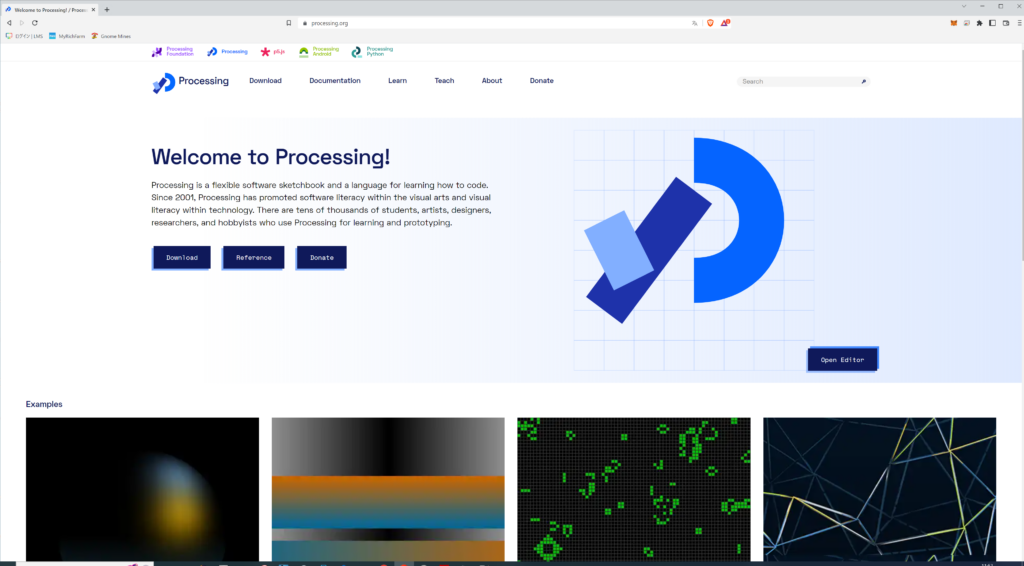
Open the official Processing website.
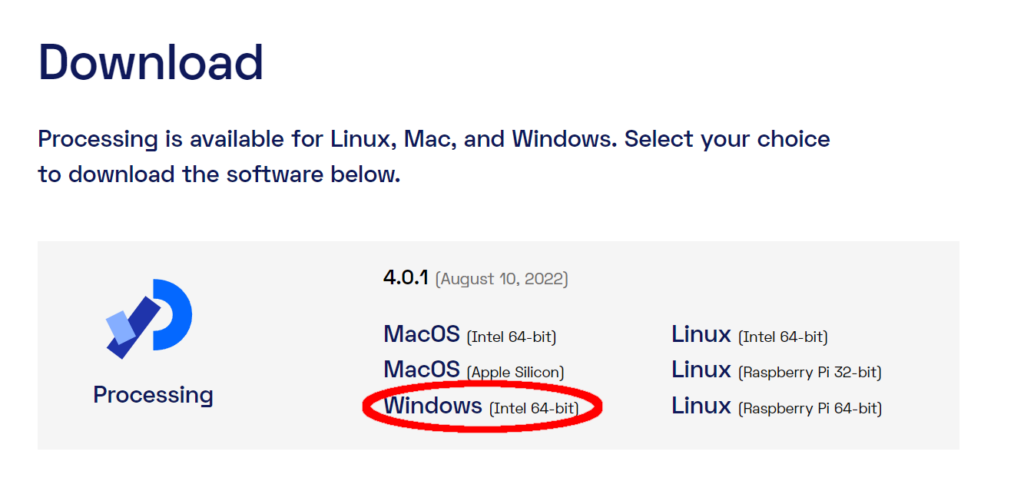
Download the latest version of Processing for Windows.
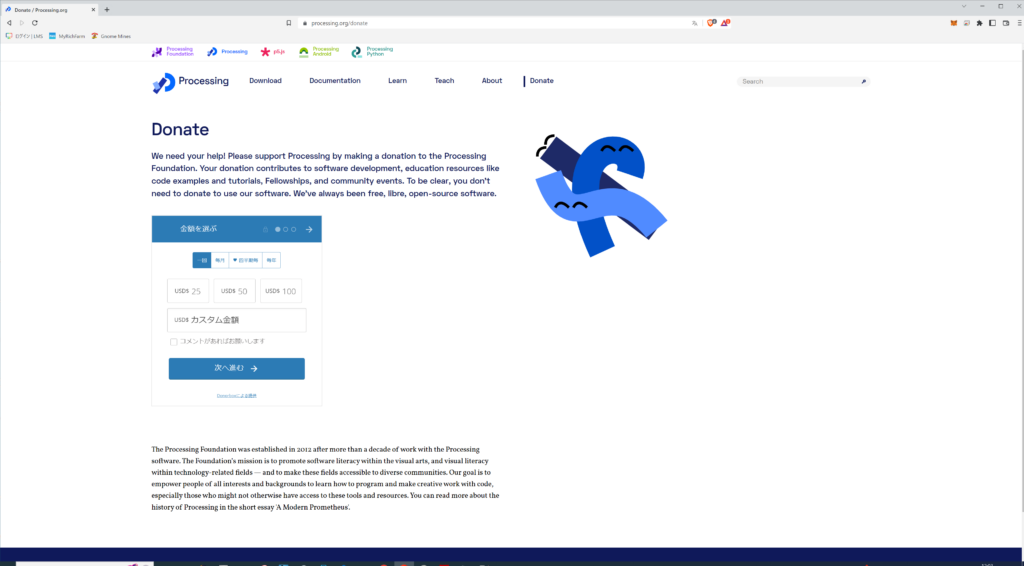
After downloading, a donation screen will appear. You don’t have to make a donation here, but if you feel that you want to support the Processing project, you should make a donation.
Installing the downloaded file
Downloaded processing-xxx-windows-x64.zip (“xxx” is the version name. It varies depending on when you downloaded it.) When you extract the “processing-xxx-windows-x64.zip”, a folder named “processing-xxx” (“xxx” is also the version name) will be created, and in that folder, the necessary items for processing will be extracted. The necessary items for processing are extracted into the folder.
If the files are extracted directly to the download folder, they will be created directly under the download folder, so you may move them to another location. For example, directly under C:\.
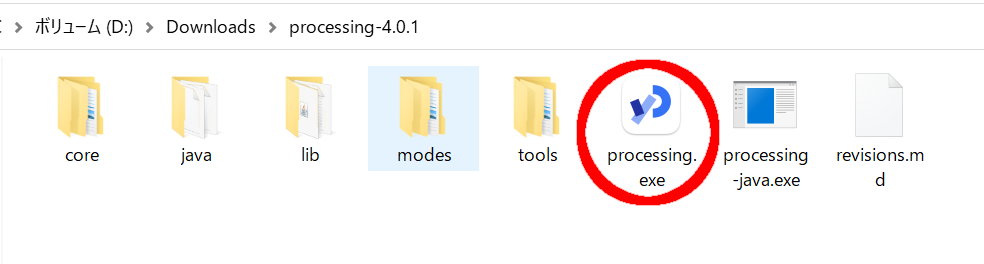
Now, in the newly created processing-xxx folder, there is a file called processing.exe. This is the executable file of the Processing SDK.
From now on, when you are coding in Processing, you should start this SDK to code.
Now it’s time to run!
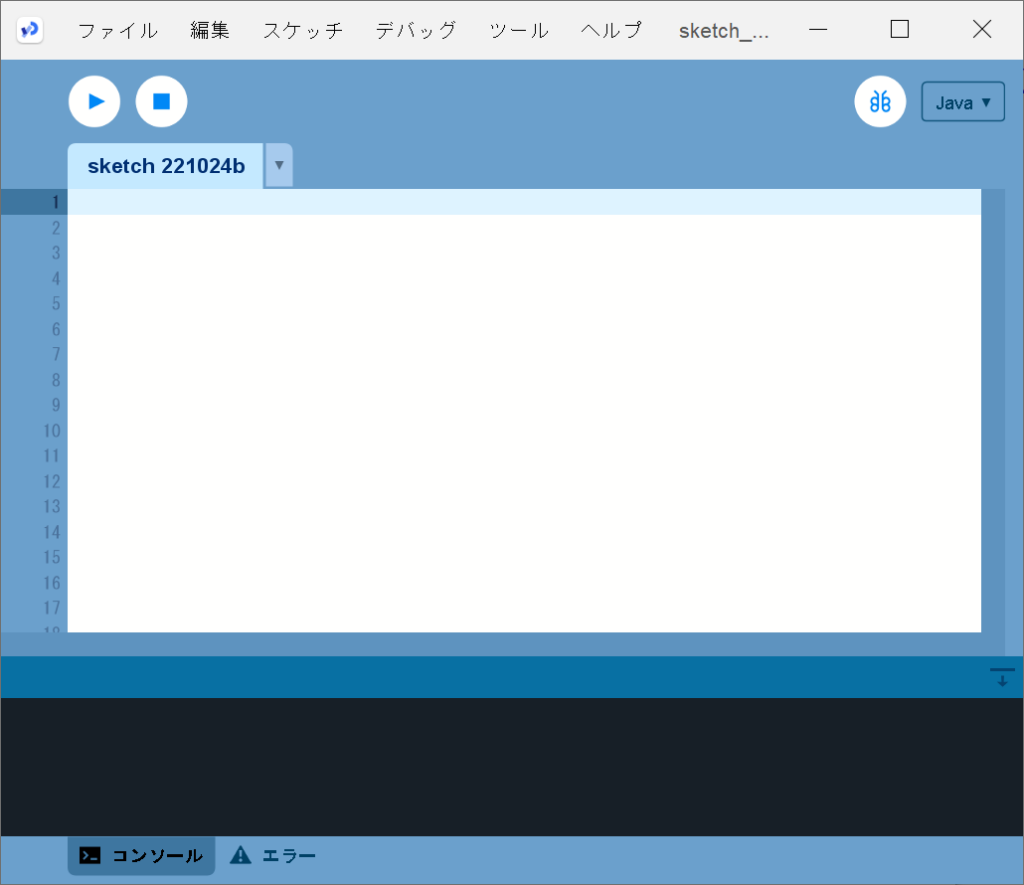
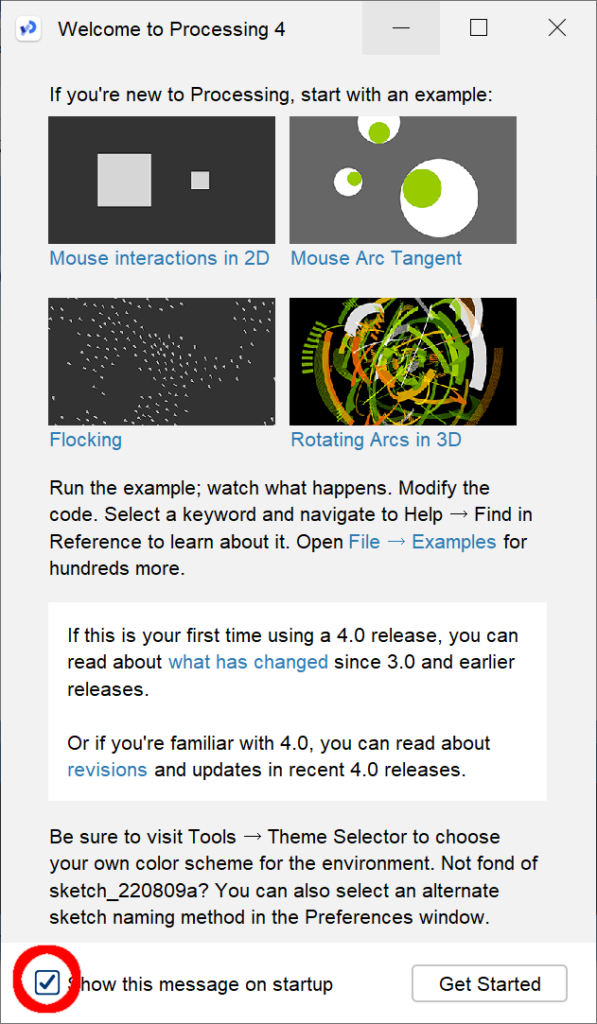
When you start the SDK, you will see the following blank screen and a welcome page.
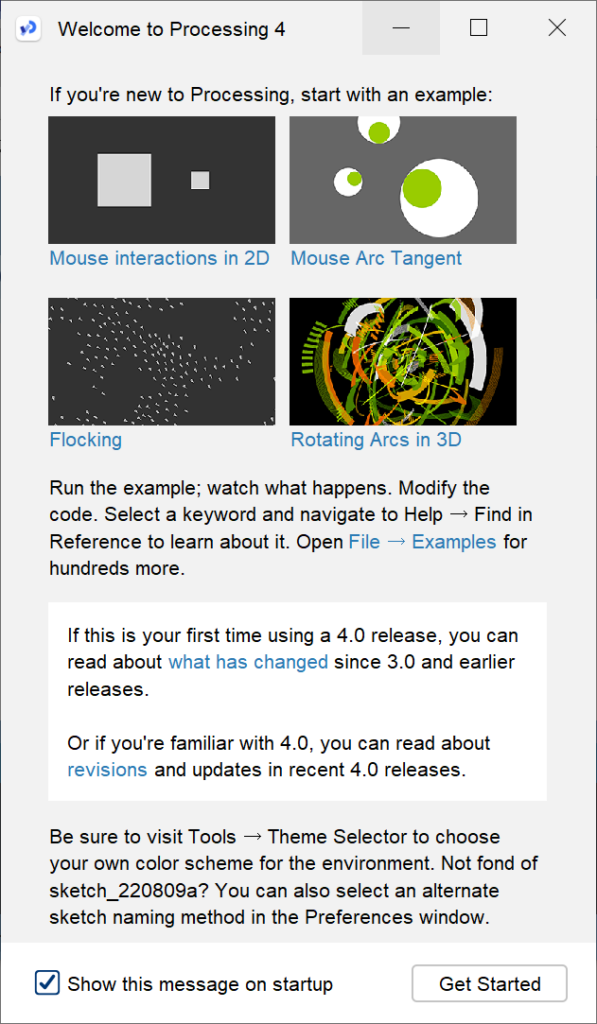
On the welcome page, there are some sample codes, and you can try running the sample codes prepared in advance.
Running this sample code will give you an idea of what you can do with Processing.
Let’s run the sample
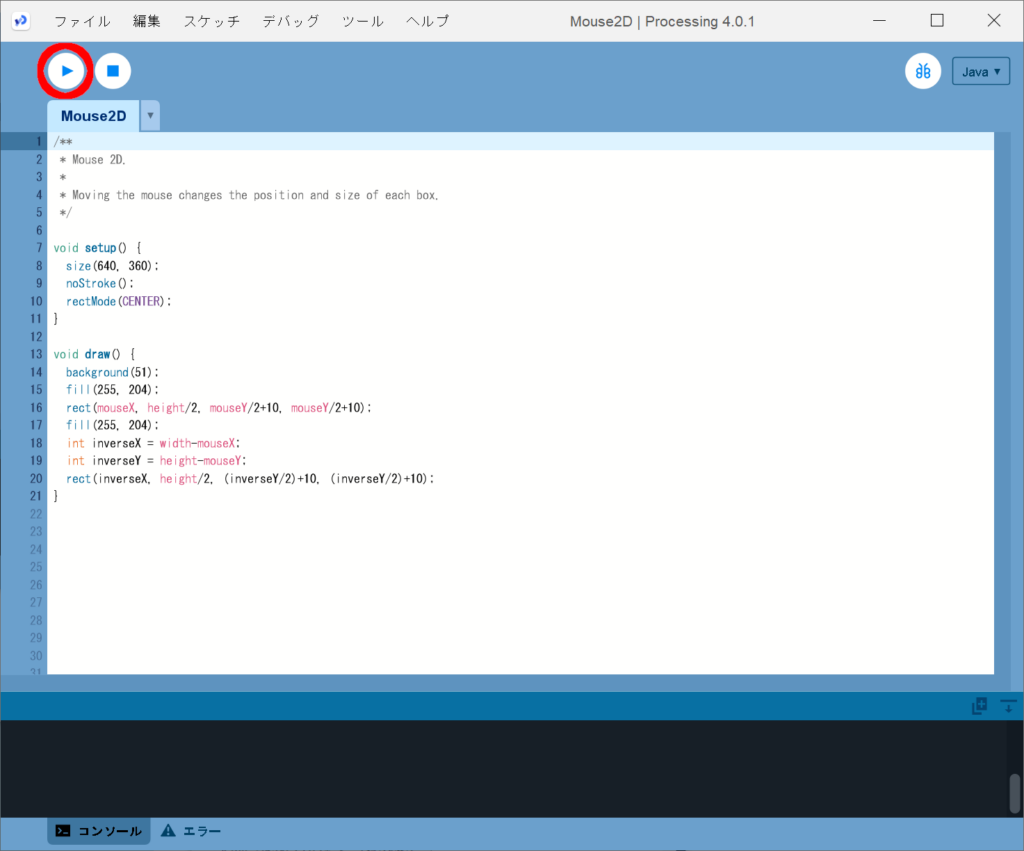
Now, let’s click on the image that interests you from the Welcome Page. In this case, I clicked on “Mouse2D.
Then, another screen with the code appears on the same screen as the blank screen that was displayed earlier.
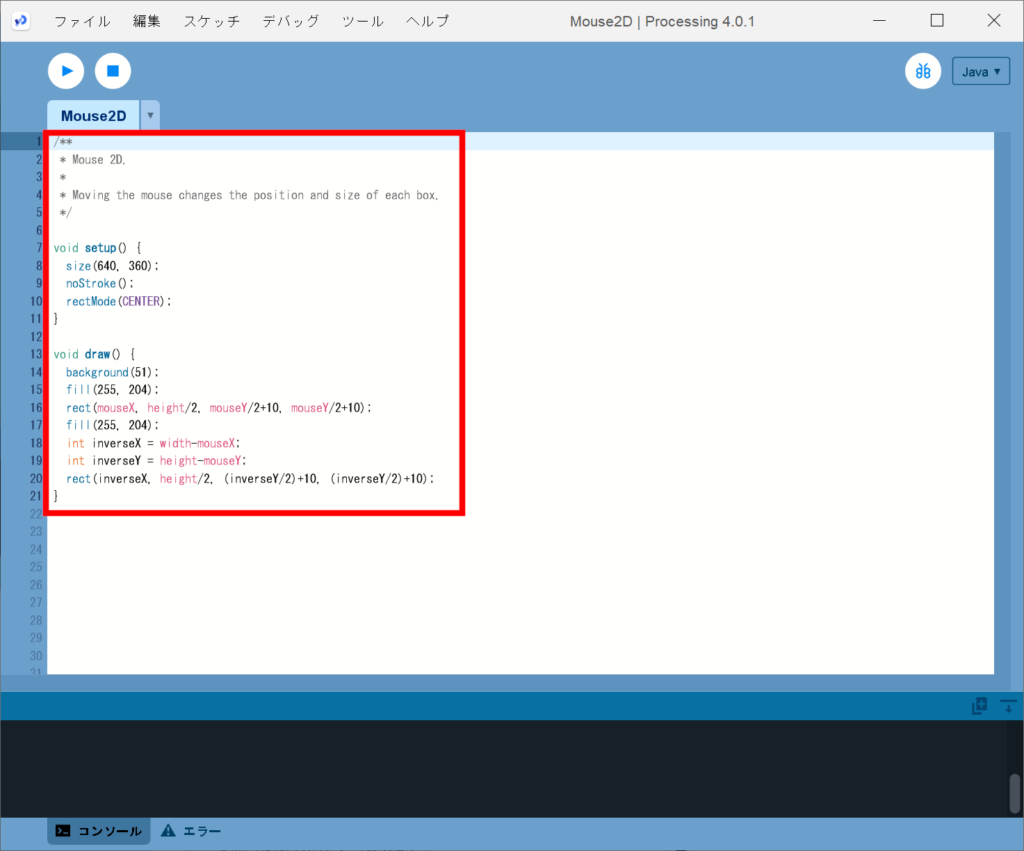
In this screen, the area in red is the “Mouse2D” code.
In Processing, code is called a “sketch. This is because Processing wants to make the word familiar to artists.
Then, click the “Execute” button in the upper left corner to execute the code. Let’s execute it right away.
A new screen will open and two rectangles will appear. These two rectangles change their shapes according to the movement of the mouse. That’s what this program does.
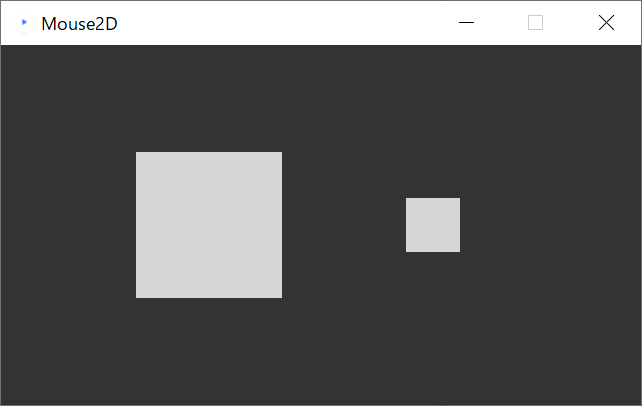
The code written on the screen above tells these two rectangles to respond to the mouse.
This is what programming is all about.
If you don’t need the welcome page from now on…
If you don’t need Welcome page in the future, uncheck the “Show this message on startup” checkbox in the lower left corner and it will not appear again.
We will learn programming using Processing in the following articles.